共7步:
https://www.youtube.com/watch?v=GtYcFZ55GJI&t=132s搭建Blog框架 | 上传到github | CF托管域名
1.配置用户名和邮箱
1 | git config --global user.name zeckblog2025 |
1 | git config --global user.email [email protected] |
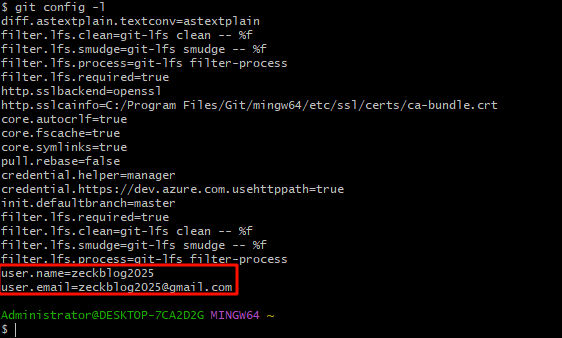
检查是否配置成功
1 | git config -l |
2.配置公钥连接Github
1 | ssh-keygen -t rsa -C [email protected] |
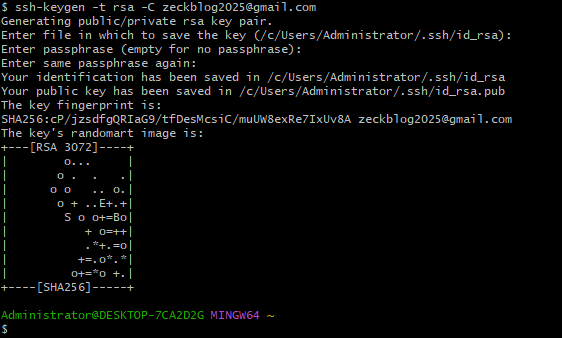
在电脑的C:\Users\Administrator.ssh文件中找到公钥,打开公钥文件,去github上添加
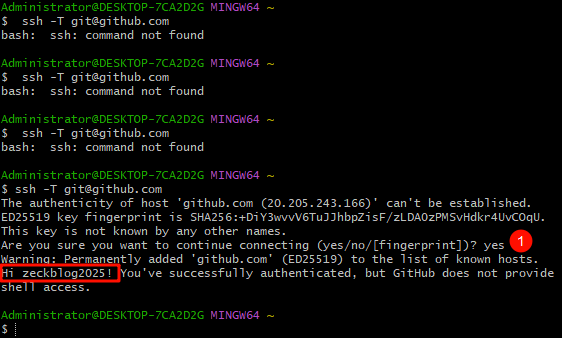
测试是否正常连接到github
1 | ssh -T [email protected] |
3.创建github仓库
仓库名字要和用户名一致,在后面加上.github.io后缀,先建公开库,后期可以改为私库
4.初始化 Hexo 博客
创建一个文件夹,进去后右键打开Open Git here,输入如下命令安装 Hexo
1 | npm install -g hexo-cli && hexo -v |
初始化 Hexo 项目安装相关依赖。
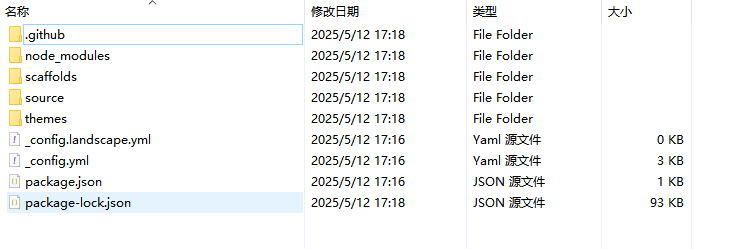
1 | hexo init blog |
初始化后有9个文件
输入hexo cl && hexo s启动项目
1 | hexo cl && hexo s |
5.将静态博客挂载到 GitHub Pages
安装 hexo-deployer-git
1 | npm install hexo-deployer-git --save |
使用VScode打开,修改 _config.yml 文件
修改最后一行的配置,将repository修改为你自己的github项目地址即可
1 | deploy: |
配置后,新建终端:
1 | hexo cl; hexo g; hexo d |
使用上面命令把它推送到github仓库中,等过2分钟后,打开链接https://zeckblog2025.github.io
[!CAUTION]
注意:VSCODE 终端首次执行报错
使用管理员身份打开 powershell ,输入以下命令
1 | Set-ExecutionPolicy RemoteSigned |
6.推送到Cloudflare Pages,使用自定域名
在Cloudflare的workers and pages中的pages页面,连接github账号,设置自定义域名,完成。
打开链接-Cloudflare域名https://zeckblog2025-github-io.pages.dev/
打开链接-自定义域名https://blog.731958961.xyz/
7.美化-安装主题
安装3-hexo主题
1 | git clone https://github.com/yelog/hexo-theme-3-hexo.git themes/3-hexo |
其它内容详细见作者文档